Flipgrid is an exciting resource to use. As soon as I found out about it I began using it in my own classroom. I was surprised to find many teachers in my district had never heard of it before. So I started spreading the word. Flipgrid creates equity in the classroom. Students who may be to shy to give an oral presentation really blossom on Flipgrid. What is Flipgrid? It's a website that allows teachers to pose a question or lesson and students can record themselves responding. This year I am an Educational Technology TOSA for my district. I have gone into multiple classes and have not encountered a student yet who would not record themselves. Yes, I've had some hesitant students or students who have asked to go to a private location to film, but EVERY single student in every class has recorded themselves. Meaning, I have always had 100% participation! #StudentVoice (There will be that exception, I'm sure. I just haven't experienced that child yet) This year I have used it with TK-6th grade classes and all students have easily navigated the site. Flipgrid was recently purchased by Microsoft, so it is now a FREE website. That was exciting news!
Flipgrid is great for all students. Your struggling reader loves it because you can record yourself giving directions, they do not have to read. Of course, you could make your directions text. After listening to your directions students film a response. The site will walk you through creating your educator account. The site allows you to create a grid, I think of the grid as a binder, inside the grid are topics, I think of those as my tabs in my binder. You decide how you want to organize this. I had a grid for my own class and another for my partner teacher's class. I taught both of our classes science. This just helped me organize my assignments. This year, as the Technology TOSA, I have a grid for each school. Mine looks like this:
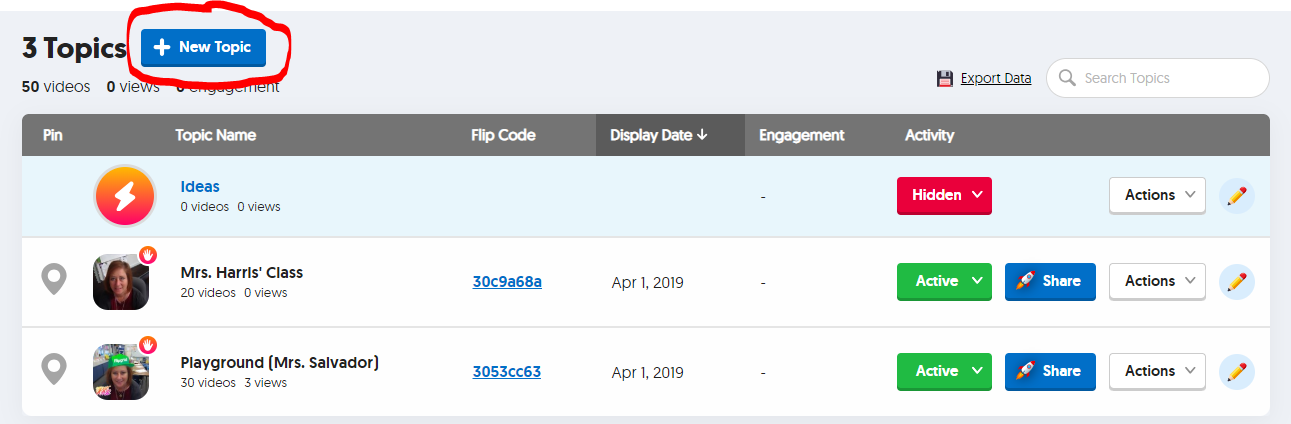
If I click on the grid, I will have assignments I have made for that school. Creating an assignment is very simple. Open the grid you'd like to make the assignment for, then click on "New Topic".

This takes you to the assignment. There are items that are required and there are optional items.
You have to give it a title. I rarely give a topic tip. The video response time, I do suggest that you change this to about how long you think it will take. If you make it too long, I have found that students try to fill up that whole entire time and I didn't always get quality responses. Topic display date will auto-populate with the date you created the assignment. You do have to add Topic Description/Question. If I'm NOT using this for a listening and speaking assignment I will type exactly what I ask in my video. If I want this to be a listening and speaking activity, I will just type, "Listen to the directions on the video". This gives you some great data, because students can rewatch your directions as much as they like, if they ask you what they are supposed to do, it lets you know that they are struggling with listening skills.

In the topic privacy section the video moderation is turned off. I suggest that you turn this on. (You can always edit and change at a later time). Turning this on will not make the videos public. You will need to watch each one, once you approve them then the class can see them. I suggest turning this on, for two reasons. One if a student is giving an incorrect response you can catch it before it goes out to the class and the incorrect response causes a misconception for another student. Two, if you have that child who thinks it's funny to be inappropriate, you can deal with that before other students see it. You can change the Active status, if you don't want it to be visible to your students yet. You can also change the launch date and freeze date. This is great when you have a substitute, you can have it launch on that day. The freeze date is great if it's an assessment. This will freeze the assignment and students can't go back in.

This section is the fun part! You can add any topic resource. In our district YouTube is blocked, so students are unable to view YouTube videos. So make sure you check that whatever you choose to add it is not blocked for students. You can even add attachments!

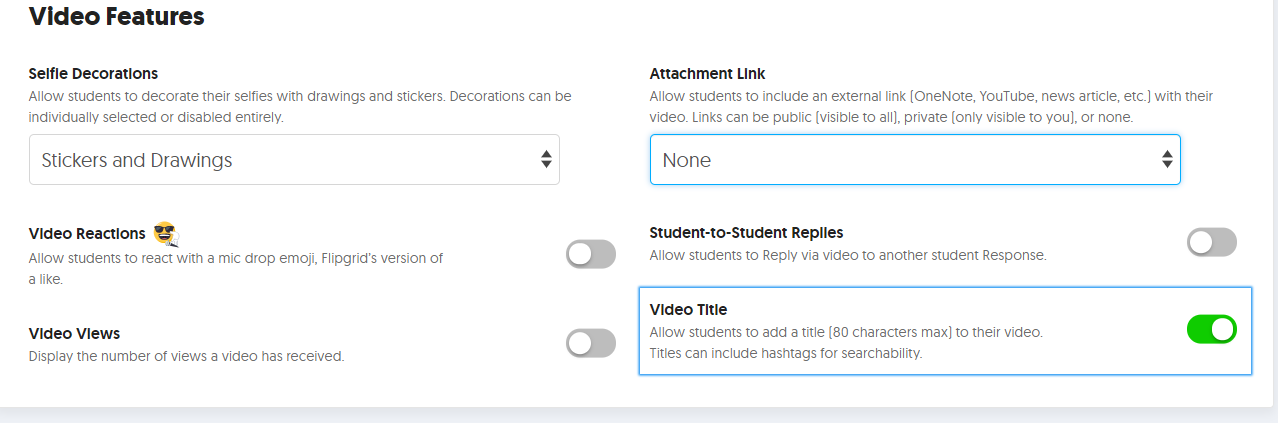
In the video features section, I do turn a few items off. I keep the stickers and drawings option, but you may want to turn it off the very first time students ever record. I turn off video Reactions, Video Views, and Student to Student Replies. I do this so students don't get distracted with these items. Once my class has used it a couple of times then I will add something and explain the rules in using this. The Student to Student Replies is VALUABLE! For example, you could have students read their essay and assign another student to listen to it, that student could then provide feedback. You do need to teach your students what feedback is versus criticism. I also change the attachment links to none. The very first time I limit what is on.
This section I leave just like it is. This will allow you to give students feedback to a response. It's that simple to create. If you'd like to experience Flipgrid as a student, go ahead and join my
Flipgrid, tell everyone how you will be using Flipgrid with your class.
When you go in as a student, try the immersive reader. Since it's owned by Microsoft, it has the immersive reader button.
Once students submit answers you will get email notifications, if you don't want your inbox to be filled with Flipgrid emails, you can turn off those notifications. Click on the actions button on your grid. Then click on Grid Notifications, here you can turn the notifications off. If you work with another teacher, here you can add them as a CoPilot which would allow them to see the student responses. They MUST sign up for a Flipgrid account themselves before they can become a CoPilot.

Flipgrid gives you many resources, my favorite is their Disco Library, teachers have shared resources/assignments. You can use one of the premade ones. You also can click on Mix Tapes and create your own "Mix Tapes", I do this when I want to pick a few student responses and would like to share it with another teacher, this way he/she only has to listen to the ones that I want them to listen to. #GridPals is another one that is great, we are moving our students to become global learners, what better way than connecting with a student in another state or country? You can look at the map and connect with schools around the world.
It's that easy! Give it a try, your students will thank you!